Button up shirts seem to be troublesome for many men in my life. Whether it’s that the shirt is too wide, the sleeves are too baggy, or the cost of one that fits in all locations is too outrageous to bother, it’s all annoying. American brands tend to build their shirts for huge Texan men, while those poor, thinner framed city boys have to hit the designer stores or more expensive European brands for a fitted button up. Even stores boasting their tall and slim options don’t seem to measure up. So what’s a guy to do?
They come to me with a bag of shirts, a bottle of wine, and a whole lot of please and thank you’s!
Men’s shirts should generally be purchased to fit the neck width, sleeve length, and body length. If you can find those three, I have a simple method to fix the body width and sleeve width for you! Grab your sewing machines men (or borrow your mom’s), and let’s get to fixin’ those baggy excuses of shirts!
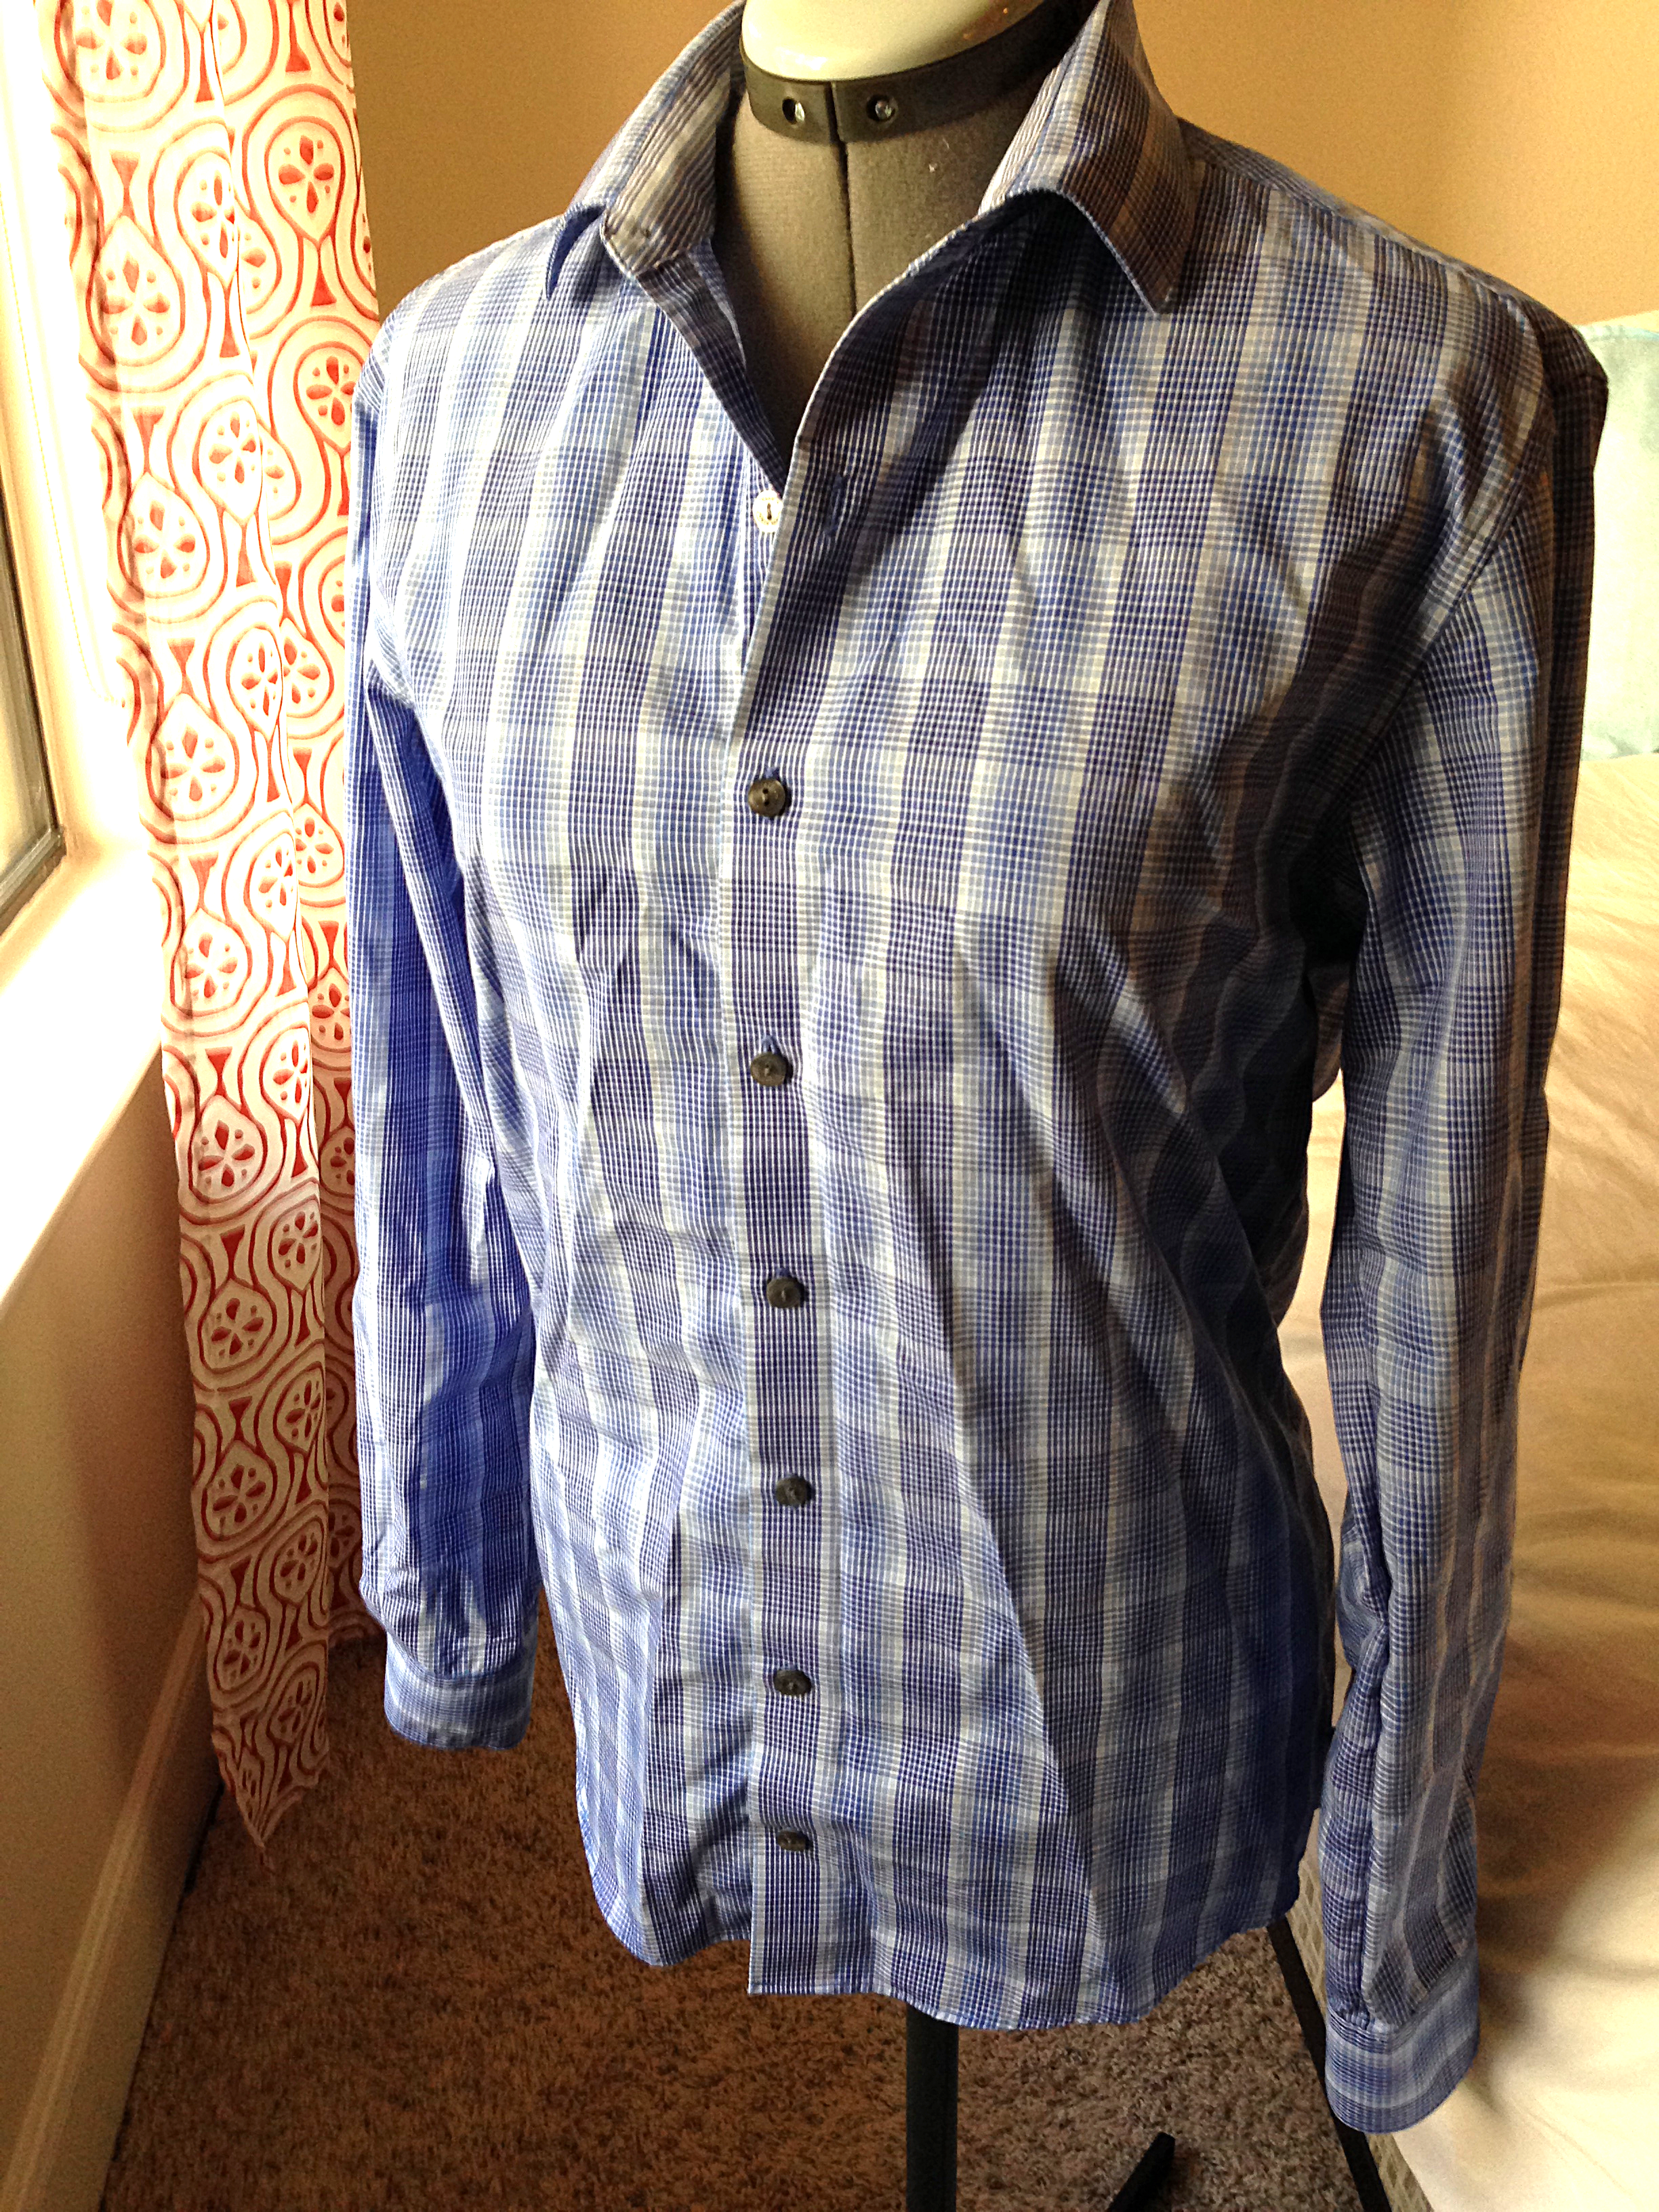
FIRST! If your shirt looks like this on the side seam:

praise the Lord and continue! This is is an easy fix. The seam on the side should be one line, not two…if you see something other than what is shown above…wait for my next men’s shirt tutorial (coming soon) for the trickier fix!
Button Up Shirt Alteration Tutorial
Supplies:
1 Shirt that currently fits (to use as a pattern)
1 Unfitted shirt
Thread to match your unfitted shirt
Pins
Sewing Machine
Scissors
Tape Measure
1. Lay your currently fitted shirt out on a flat surface. Measure and record the measurements for each portion of the shirt shown below: hip width, waist width, armpit width, shoulder width, and elbow width. NOTE: If the shirt you are attempting to fix has the wrong neck size, torso length, or wrist width, the shirt cannot be fixed because it is the wrong size altogether.


2. Take the measurements you found in step 1 and measure them out on your inside out, unfitted shirt. The correct measurements should be centered on the shirt for the body section. For example, if your fitted shirt has a hip width of 19″ and your unfitted shirt has a hip width of 21″, you should have 1″ on either side of the shirt of extra fabric. For the sleeves, you should measure from the top of the sleeve to the underarm portion. See the pictures below for more clarification.
Place pins along all of the measurements and connect each measured point with a straight line of pins. You will see that there is now a path from the body of the shirt to the arms, all the way to the wrist of the shirt made from pins.


3. Now it’s time to sew! Grab your sewing machine and thread it with matching thread for your unfitted shirt. Start sewing a straight stitch along the pins from the bottom of the body of the shirt up to the arm pit, following the line of pins the whole way up. Tie a knot and stop sewing. Move to the wrist of the shirt. Start another straight stitch at the wrist of the shirt. The stitch should line up with the current seam on the shirt right on the wrist and gradually move from this current stitch to the line of pins you have going up the arm. Once you reach the arm pit, make a knot again. Repeat this on the other side of the body and arm.


4. Now that you have the straight stitch done, cut off all of the extra fabric, leaving about a 1/4″ from the straight stitch attached. Along this 1/4″ area, sew a zig zag stitch. This helps to keep the stitches from ripping and to keep the shirt from fraying so much, just as a serger would (if you have a serger, just use that!).
I also like to add some extra zig zag and straight stitches over the area near the arm pit to keep it from ripping, as it is the most fragile area for most people as they move their arms around.


5. Turn your shirt right side out and try it on! It should be nice and fitted, just like it was meant to be!


Do you have the other alteration post done yet? I can’t seem to find it and I really need it!!
LikeLike
I am so sorry! I have put this post off because I haven’t had a shirt to work on! I plan to do it this summer sometime
LikeLike
Wow I can’t even… I have so many shirts and skirts I need to tailor but I don’t really know how to do it, I hope I pick up some tips over the next few posts. Also, I want to see what the before and after fit looks like on this gentleman!
LikeLike
Yeah I would love to show a before and after but I forgot! I think I will on the other post I make for more complex shirts and have Kyle model 🙂 I hope to put up more alteration posts soon too, that’s my favorite thing to do.
LikeLike
Hi,
Thanks for such a wonderful video. I ‘ve always struggled to find shirts which perfectly fit me. Your video will be really helpful in altering shirts.
Please post a video for the trickier fix.
LikeLike
I’m glad you like it! I am working on the tricky fix post but it’s a bit longer so it’s taking a long time!
LikeLike